


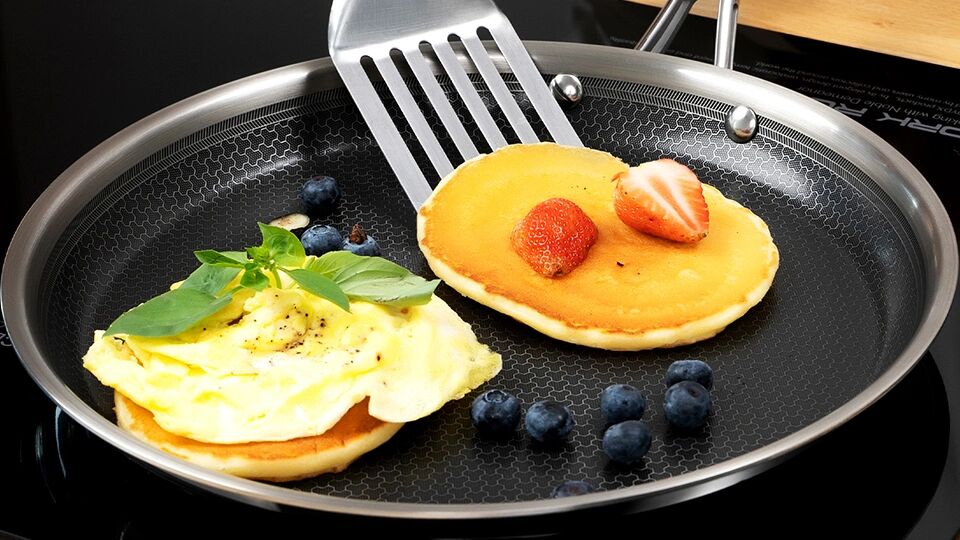
How to Make Perfect Pancakes Without Sticking
Pancakes usually stick because the pan temperature, batter timing, fat amount, or surface care is not right. With the right preheating method and gentle technique, ceramic nonstick pans can help pancakes release cleanly without tearing. This guide explains how to control heat, choose the right pan surface, flip at the right moment, and protect your cookware while cooking.
Why Do Pancakes Stick to the Pan?
Pancakes look simple, but they are sensitive to timing and heat. Sticking usually happens before the first flip, when the batter has not set enough, or the pan surface is not prepared correctly.
The Pan Is Too Cool
If the pan is too cool, the pancake batter spreads and sits on the surface instead of setting quickly. The wet batter can bond to the surface, especially around the edges. This often leads to tearing when you slide a spatula underneath.
A properly warmed pan helps the bottom layer set before the pancake absorbs too much fat or moisture.
The Pan Is Too Hot
Too much heat can brown the bottom before the inside is ready. The surface may darken quickly while the center stays wet. When you try to flip it, the pancake can fold, tear, or stick in patches.
For nonstick pans, prolonged high heat is also a care problem. It can shorten the life of the coating, so pancakes are better cooked over controlled low- to medium-heat.
The Batter Needs More Time
Pancakes often stick because they are flipped too early. When the first side is not set, the pancake will drag against the pan. Waiting for the right surface signs is more reliable than guessing by time alone.
How Hot Should the Pan Be Before You Start?
Pan temperature is one of the biggest factors in pancake success. The goal is a gently preheated surface, not an overheated pan.
Use a Moderate Preheat
For hybrid or ceramic-style nonstick cookware, start with medium-low heat. Some cookware heats faster than expected, especially when it uses layered construction. A lower starting temperature gives you more control and reduces the risk of overheating the surface.
A practical method is to preheat the pan briefly with a small amount of oil or butter, then adjust the heat once you see how the first pancake cooks. When cooking with ceramic-coated pans, avoid heating an empty pan for too long.
Try the Water Droplet Test
A simple test is to add a few drops of water to the warmed pan. If the droplets disappear immediately, the pan may not be ready for clean release. If the droplets dance or bounce briefly, the surface is usually preheated enough to start cooking.
After the test, wipe away water before adding batter. Do not keep increasing the heat once the pan is ready. The goal is steady pancake cooking, not maximum surface temperature.

Test With a Small Pancake First
The first pancake can act as a temperature check. Make a small test pancake before cooking the full batch. If it browns too slowly and sticks, wait a little longer. If it browns too fast, reduce the heat and let the pan stabilize.
Do You Need Butter, Oil, or Cooking Spray?
Fat helps with browning, flavor, and release, but more is not always better. The right choice depends on your pan surface and the pancake style you want.
Butter Adds Flavor but Browns Faster
Butter gives pancakes a classic flavor, but it contains milk solids that brown quickly. If the heat is too high, butter can darken before the pancake is cooked. For better control, use a small amount of butter and wipe away excess. A thin, even layer is usually enough for ceramic-coated cookware.
Oil Gives More Even Coverage
Neutral oil can spread more evenly and handle moderate cooking temperatures well. Use only a light coating. Too much oil can make the pancake edges greasy and uneven. If you are using ceramic non-stick pans, a small amount of oil can support release while still keeping cleanup simple.

Be Careful With Cooking Spray
Some cooking sprays can leave residue on coated surfaces over time, depending on the ingredients and the cookware instructions. If the manufacturer advises against spray, use a small amount of oil or butter instead. This matters for both non stick cookware and hybrid coated surfaces because residue can make the pan feel less slick even after washing.
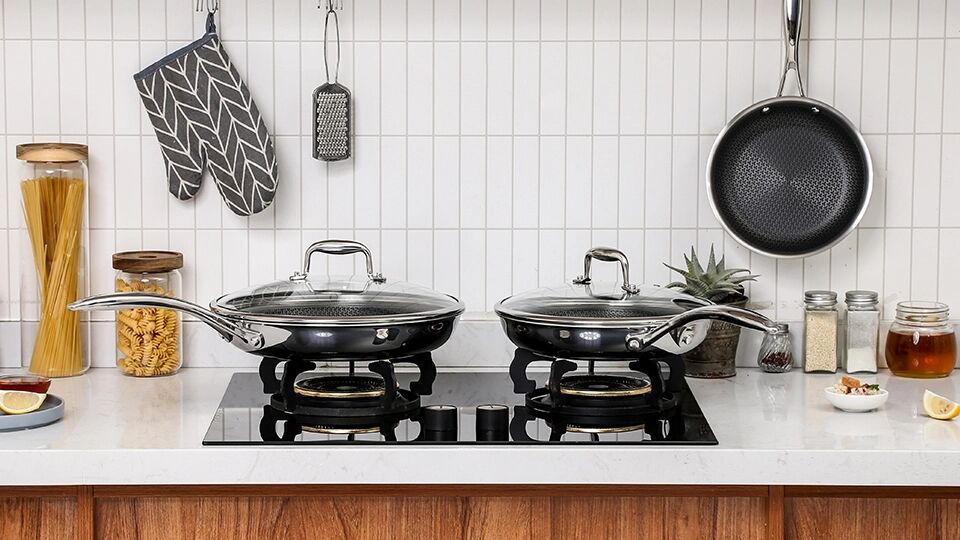
How Does Pan Material Affect Pancake Results?
Pan material affects heat control, food release, and cleanup. For pancakes, the most important qualities are steady moderate heat and a surface that lets the batter release after setting.
Hybrid Ceramic-Style Surfaces
Many modern pans use composite construction. They may combine stainless steel for structure with a ceramic-style nonstick surface for easier release. That does not mean the product is purely stainless steel cookware or purely ceramic cookware.
Ceramic-coated cookware can be useful for pancakes because the surface supports gentle release. However, it still needs proper preheating, moderate heat, and soft utensils.
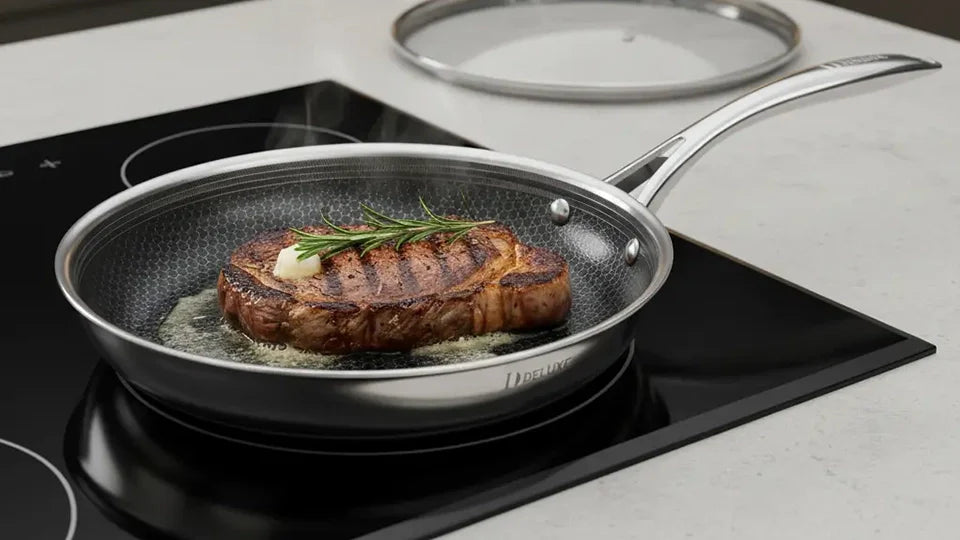
Pure Stainless Steel Requires More Skill
A pure stainless steel surface is not naturally nonstick. To reduce sticking, it usually needs proper preheating, enough oil, and more experience with timing. Pancakes can be cooked on stainless steel, but it is less forgiving than a coated surface.
If your main goal is easy pancakes, eggs, and soft breakfast foods, nonstick pans are usually more beginner-friendly.

Why Composite Construction Can Help
Composite cookware can balance durability, heat distribution, and surface release. This is useful for home cooks who want an easier pancake experience without treating the pan like heavy high-heat cookware.
When cooking with ceramic-coated pans, the key is to let the surface do its job gently. Do not scrape, overheat, or rush the flip.
When Should You Flip a Pancake?
Flipping too early is one of the most common reasons pancakes tear. A pancake should release when the bottom has set, and the top shows clear signs of progress.
Look for Surface Bubbles
Small bubbles should appear across the top of the pancake. Some bubbles should open and stay open rather than immediately filling back in. This means the inside is cooking and the structure is forming.
Watch the Edges
The edges should look slightly dry and set. If the edges are still wet and glossy, wait a little longer. A pancake with set edges is easier to lift cleanly.
Lift Gently Before Flipping
Slide a thin, flexible spatula under one edge. If the pancake resists, give it more time. Do not force it. A ready pancake will usually lift with light pressure.
A non-stick pan for scrambled eggs can also be useful for pancakes because both foods benefit from easy release and controlled heat. Still, technique matters as much as the surface.
What Should You Do if Pancakes Keep Tearing?
If pancakes keep tearing, do not immediately blame the recipe. Check the heat, batter texture, pan surface, and flipping method first.
Lower the Heat Slightly
If the bottom browns too fast while the top stays wet, the heat is too high. Lower the heat and wait for the pan to stabilize before cooking the next pancake. This is especially important for non-stick cookware because steady moderate heat protects the surface and gives the batter time to set.
Let the Batter Rest
Resting batter for 5 to 10 minutes can help hydrate the flour and make the texture more consistent. Avoid overmixing, because too much mixing can make pancakes tougher. A rested batter spreads more evenly and is easier to manage on ceramic-coated cookware.
Use the Right Spatula
A thin silicone or nylon spatula is better for coated surfaces. It should be flexible enough to slide under the pancake without scraping the pan. Avoid sharp metal tools unless the product instructions specifically allow them. If you use a non-stick pan for scrambled eggs, the same utensil rule applies. Gentle tools help preserve the cooking surface.
How Do You Protect a Nonstick Surface While Cooking?
A good surface helps pancakes release, but it needs the right care. Small habits can make a major difference in long-term performance.
Avoid Prolonged High Heat
Pancakes do not require high heat. Use low to medium heat and adjust gradually. Long periods of high heat can damage many coated surfaces and reduce release performance. This is one reason ceramic non-stick pans should be used with patience. Let the pan warm steadily instead of trying to speed up cooking with aggressive heat.
Use Soft Utensils
Use silicone, nylon, or wooden utensils. Do not cut pancakes in the pan. Do not scrape stuck batter with sharp tools. If batter residue remains, let the pan cool and wash it gently.
Clean After the Pan Cools
Let the pan cool before washing. Sudden temperature changes can stress cookware, and aggressive scrubbing can wear the surface. Use warm water, mild dish soap, and a soft sponge.
For ceramic-coated cookware, protected storage also matters. If you stack pans, use a soft liner to prevent surface marks.

Follow These Steps for Better Pancakes Every Time
A consistent pancake routine is easier than adjusting everything at once. Use these steps when cooking with ceramic-coated pans or other coated cookware.
Step 1: Prepare the Batter
Mix the dry and wet ingredients until just combined. Small lumps are fine. Let the batter rest for several minutes while you prepare the pan.
Step 2: Preheat Gently
Place the pan over medium-low heat. Add a small amount of oil or butter if needed. Use the water droplet test to check readiness: droplets that dance or bounce briefly usually show the pan is ready.
Step 3: Add Batter Without Crowding
Pour the batter slowly and leave space between pancakes. Crowding makes flipping harder and can lower the pan temperature too much.
Step 4: Wait for Flip Signs
Look for bubbles, set edges, and a bottom that lifts easily. Flip once and avoid pressing the pancake down with the spatula.
Step 5: Adjust Between Batches
If pancakes darken too quickly, lower the heat. If they cook too slowly and stick, give the pan more time to recover. Wipe away burnt butter or crumbs between batches.
The same routine works for many breakfast foods. A non-stick pan for scrambled eggs, pancakes, and soft breakfast items should be treated with controlled heat and gentle tools.

Cook Better Pancakes Every Time
Perfect pancakes come from steady heat, proper timing, a lightly prepared surface, and careful flipping. Ceramic non-stick pans can help with release, but they still need moderate heat and gentle care. Use the water droplet test, avoid overheating, and let each pancake set before flipping for better results every time.